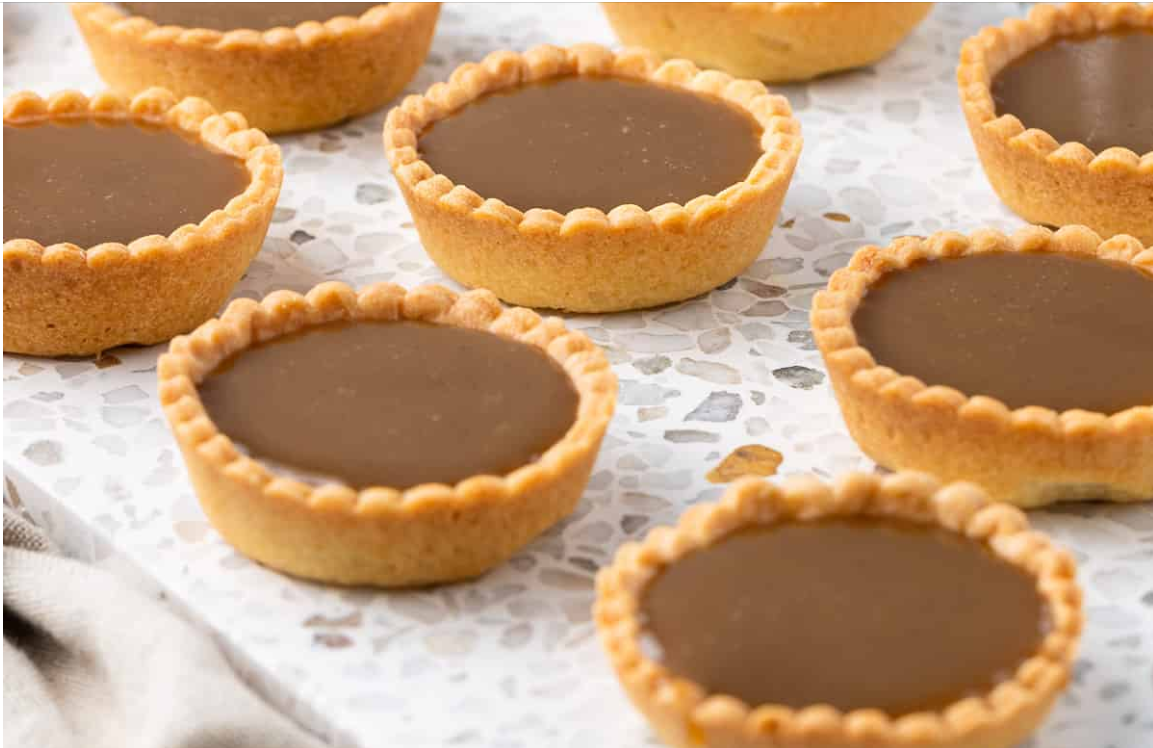
These Mini Butterscotch Tartlets are deliciously decadent little treats that are perfect for an afternoon tea party, special occasion or the Holidays. They combine Mini Tartlet Shells made in a muffin pan with a homemade Salted Butterscotch Sauce fill.
The tartlet shells are simply made in a muffin pan so you don’t need any special tartlet pans here!
Along with these Salted Caramel Tarts, these old school Butterscotch Tartlets will be perfect for a dessert table spread. They will last for days in the fridge to you can easily make them in advance too!
Ingredients

For the Shortcrust Pastry Crusts:
- Dry Ingredients: a mix of Plain / All-Purpose Flour, Icing Sugar (or powdered sugar) and a pinch of Salt.
- Butter: very cold unsalted butter. Make sure it comes straight from the fridge!
- Egg: medium to large size egg. You can whisk it separately in a bowl before adding it to the pastry dough.
For the Butterscotch Filling:
- Brown Sugar: this type of sugar contains molasses that will give the sauce its recognisable deep sweet flavour. Use light brown sugar for a lighter flavour or dark brown sugar for a stronger molasses taste.
- Butter: you can use both salted butter or unsalted butter. If using salted butter, you can discard the extra salt added to the sauce. It will get melted straight away so it can be at room temperature or cold.
- Cream: Thickened / Heavy Cream (Double Cream) – containing at least 30% fat. Make to to heat up the cream before adding it to the melted brown sugar to avoid crystallisation. It will also splash around less when added warm.
- Vanilla Paste + Salt: both optional but a great way to boost the flavours of the filling. You can use vanilla extract if preferred.
Optional Addition: Lemon Juice and/or Lemon Zest. Adding some acidity to the butterscotch sauce is a great way to balance its flavour. It is also believed to help with crystallisation issues.
How to make Butterscotch Tarts
Making the Shortcrust Pastry

First, prepare the pastry for the tartlet shells. I make mine in the food processor for ease but it can also be made by hands and/or with a pastry blender.
- Photo 1: Place the Plain Flour, Icing Sugar and Salt in the bowl of your food processor. Pulse for a few seconds to mix, then add the very cold cubed Butter.
- Photo 2: Blend until you get fine crumbs of butter.
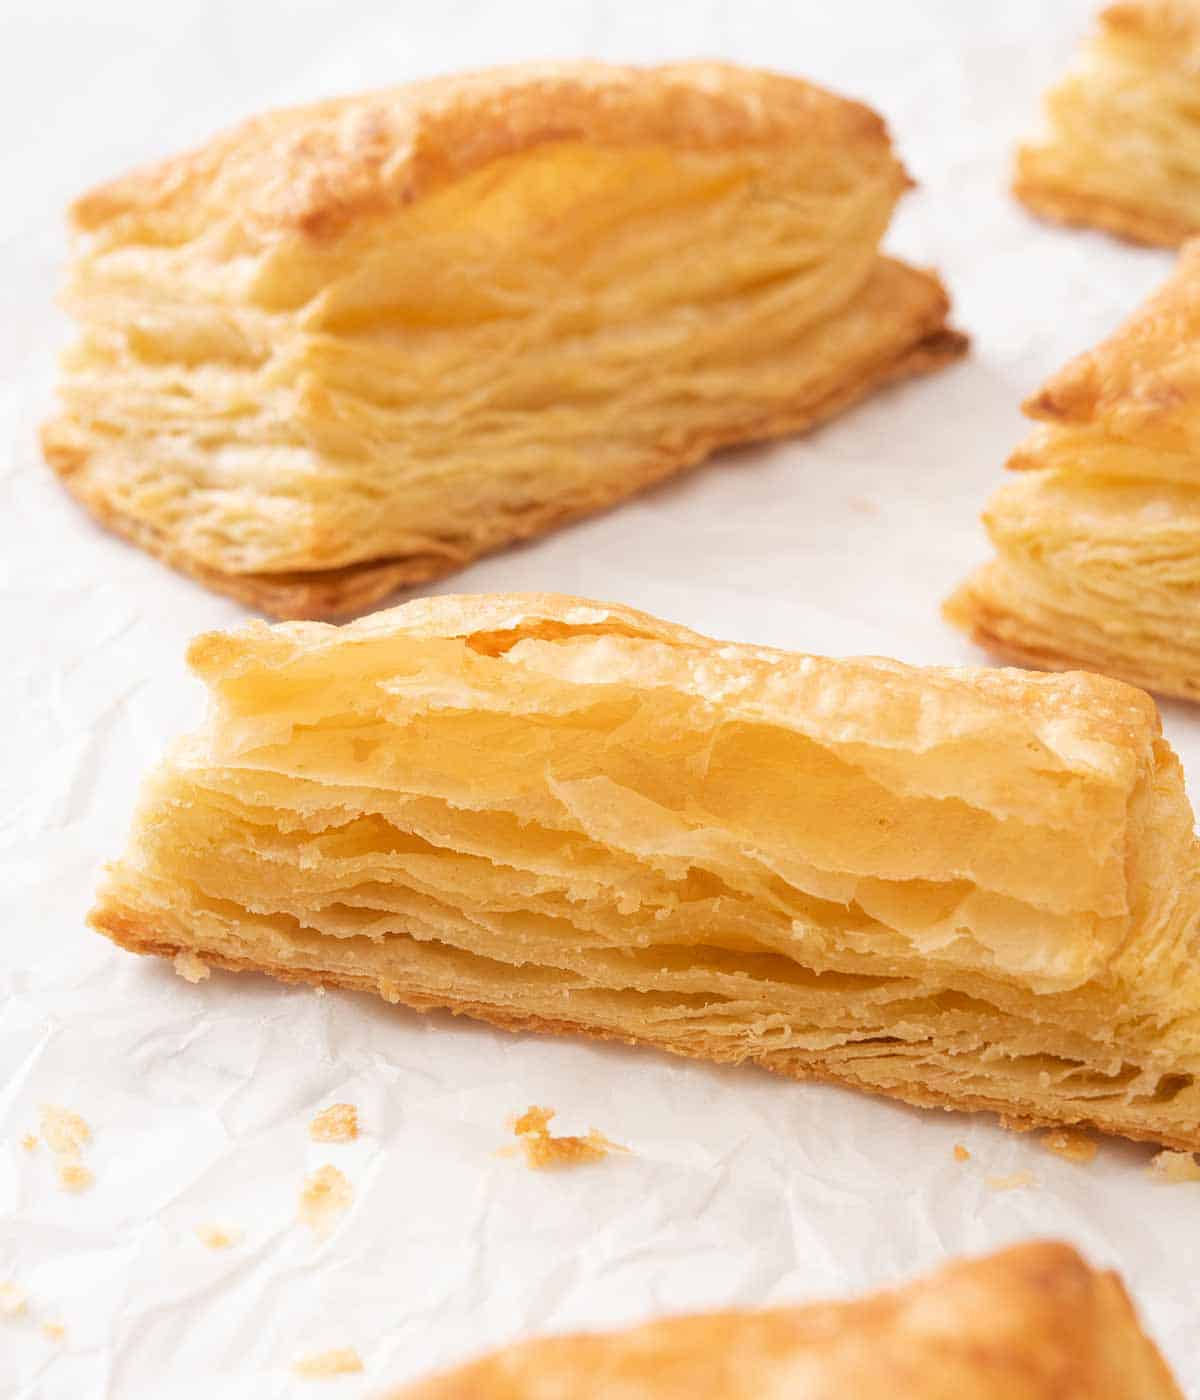
The larger the crumbs, the flakier the pastry will be. We want to avoid too much flakiness for this recipe to prevent the tart cases from puffing too much.
- Photo 3: Add the Egg to the flour mixture. You can pre-whisk the egg separately first so that the egg yolk and egg white incorporate more easily into the dough.
- Photo 4: Mix until a rough dough starts to come together. To know the pastry has been mixed enough, press together some small pieces of dough in your hand. If they stick together, the pastry is ready.
If the crumbs don’t stick together or the pastry seems to be quite dry, add a few drops of very cold water and mix until you get the desired consistency.
- Bring the mixture together into a ball and place it between two large sheets of baking paper / parchment paper. Lightly flatten the ball then using a rolling pin, roll into a large disk that is about 4mm (1/8 inch) thick.
Use a rolling pin with thickness rings to get an even thickness.
- Place on a flat tray and refrigerate for at least 1 hour, or overnight.
Shaping & blind-baking the tartlet shells

- Photo 5: Remove the baking paper from the chilled dough. Using a round or fluted cookie cutter that is at least as wide as the muffin cups opening, cut out disks of pastries. Excess dough can be re-rolled, chilled for a couple of hours then cut out to make more tart shells.
The wider you cut the pastries, the deeper the tartlets will be. I recommend starting with one and assessing whether or not you need a wider cookie cutter, depending on how deep you want the tartlets to be.
If the pastry dough seems a bit stiff, let it come back to room temperature first. The butter will soften and it will be easier to line the tins. If the pastry become too soft and starts to break, put it back in the fridge for a few minutes.
- Photo 6: Gently slide the disk of pastry into the muffin pan. Lightly press on the corners to remove any air bubbles and make sure the pastry completely touches the muffin pan on all sides. Push the sides of the tarts against the pan to make sure the pastry sticks to it.
- Photo 7: Place back in the fridge to chill and rest for at least one hour, preferably overnight for the best results. Dock the bottom of the pastries (prick with a fork) then place in the freezer while you preheat your oven on 160 degrees Celsius / 325 degrees Fahrenheit.
- Photo 8: Place a crunched up piece of baking paper over the bottoms of crusts. Fill with pie weights (baking beads, dried beans or rice).
- Bake for 15 minutes then remove the baking paper and weights. Place back in the oven for another 12 to 15 minutes, or until the crusts are fully baked, lightly golden and dried to the touch. Place on a wire rack to cool down completely.
Preparing the butterscotch filling

- Place the Cream in a small bowl and heat up in the microwave for 30 seconds to 1 minute, or until warm. Set aside.
- Photo 9: Place the Brown Sugar and cubed Butter in a small saucepan.
- Photo 10: Turn on low to medium heat and leave to melt, occasionally stirring. Once it has completely melted, leave to simmer for a couple of minutes.
It will look like the mixture has split as the fat from the butter won’t incorporate into the melted sugar. Don’t worry though, it will come together at the next step!
- Photo 11: Pour the warm cream into the melted brown sugar. If the cream appears to have cooled down, heat it up slightly first.
Using warm cream is a great way to avoid crystallising the sugar. It also will prevent the mixture from splashing around which could cause burns.
- Photo 12: Stir well with a heat-proof spatula.
Be very careful during this step as the hot sugar could splash around if the cream is too cold.

- Photo 13: Continue to cook for a minute or two while stirring until you get a smooth sauce without any lumps.
- Photo 14: Sprinkle the teaspoon salt and vanilla paste over the melted sugar and stir to combine.
- Photo 15: Cook for 3 to 5 minutes on low to medium heat, or until the sauce has started to slightly thicken.
- Photo 16: Transfer into a clean jug (it will be very hot so be careful during this step) and pour into the cooled down tart crusts. Gently tap the bottom of the tarts against a hard surface to pop any air bubbles and insure a smooth top.
The butterscotch filling will appear to be quite liquid and thin at this stage, that’s normal. It will thicken as it cools. If you wanted a thicker filling, you could also mix in a little bit of cornstarch (dissolved with a tablespoon water) towards the end of the process.
- Place the mini butterscotch tarts in the fridge to chill for 2 hours, or until ready to serve.